Happy 2020! AXS Studio wrapped up the last decade by creating an interactive Holiday Card to celebrate the season. Now that the holidays are over, we’re taking a look back at how the interactive holiday card was brought to life—from ideation to production to adding interactivity.
While the term “holiday card” conjures up specific imagery of snowflakes and pine trees and jolly men in red, it turned out to be a broad topic with lots of space for creativity. More than just a generic holiday greeting, we wanted our card to represent AXS Studio in a way that was non-denominational, fun, and interactive.
Ideation
All finished projects begin as an idea! Our Medical Communications Designer Chelsea Canlas led the team in an ideation session where as many ideas as possible were captured on post-its. The tricky part, of course, was to narrow down the ideas. “With multiple projects happening and the holidays looming, our main constraint was time,” explains Chelsea. “As a team, we ranked each idea using an originality-feasibility matrix. We chose three ideas that were happy compromises, then put it to a studio-wide vote.”
Once the team settled on the artist desk idea, we regrouped to come up with a list of items that would be found on the desk. “We wanted to share what it is we do as AXS Studio, but also who we are: we use an arsenal of tools to create science visualizations, we’re Canadian, and we love bubble tea!”
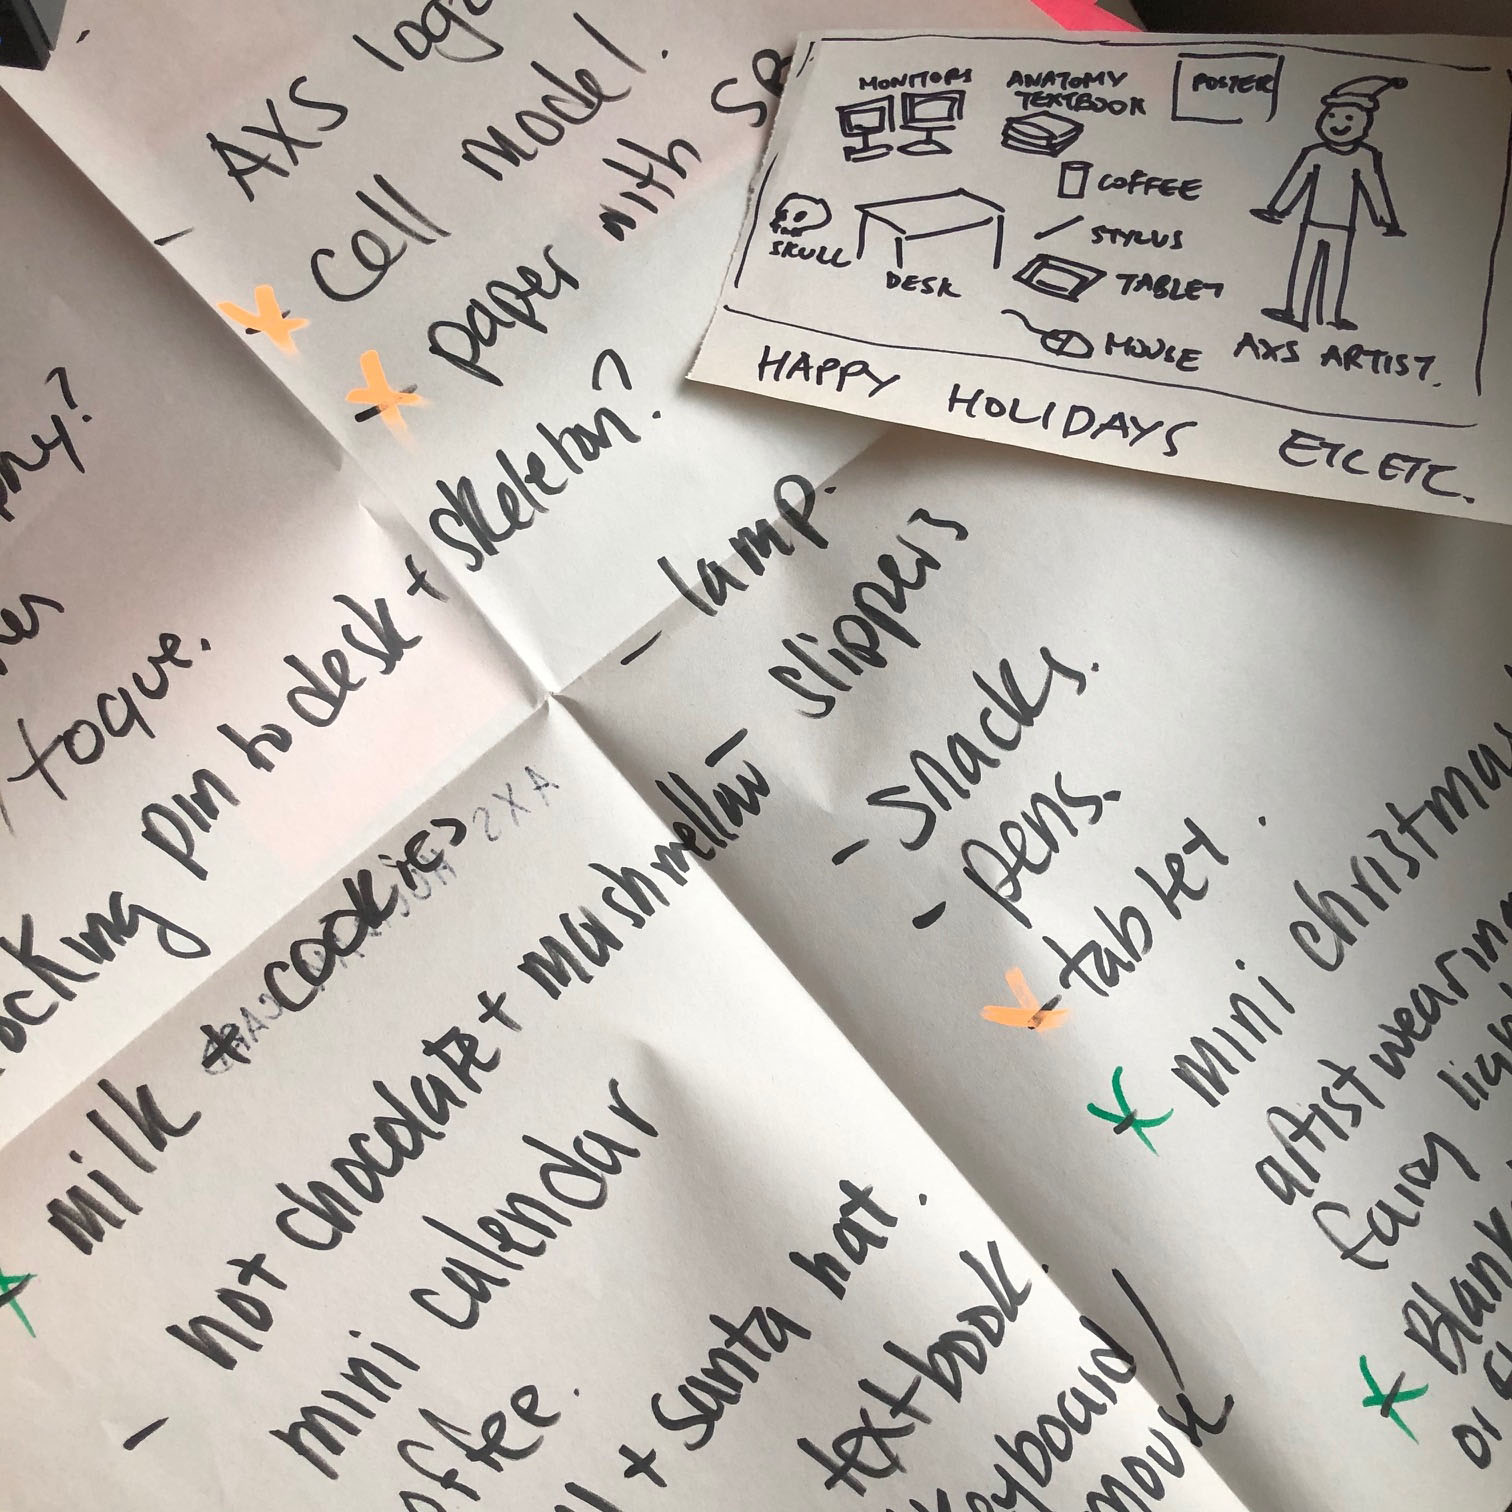
The initial doodle of the artist desk idea with a list of potential items.
Happy holidays etc etc.
Our initial idea began as an offshoot of the Meet the Artist meme. Building on that, we drew stylistic inspiration from professional 3D artists such as Peter Tarka and Nuria Madrid. Lastly, all we had to do was simply walk around the studio looking at people’s desks, and finding tchotchkes representative of our AXS artists (such as the kiwi toy and an abundance of succulents)!
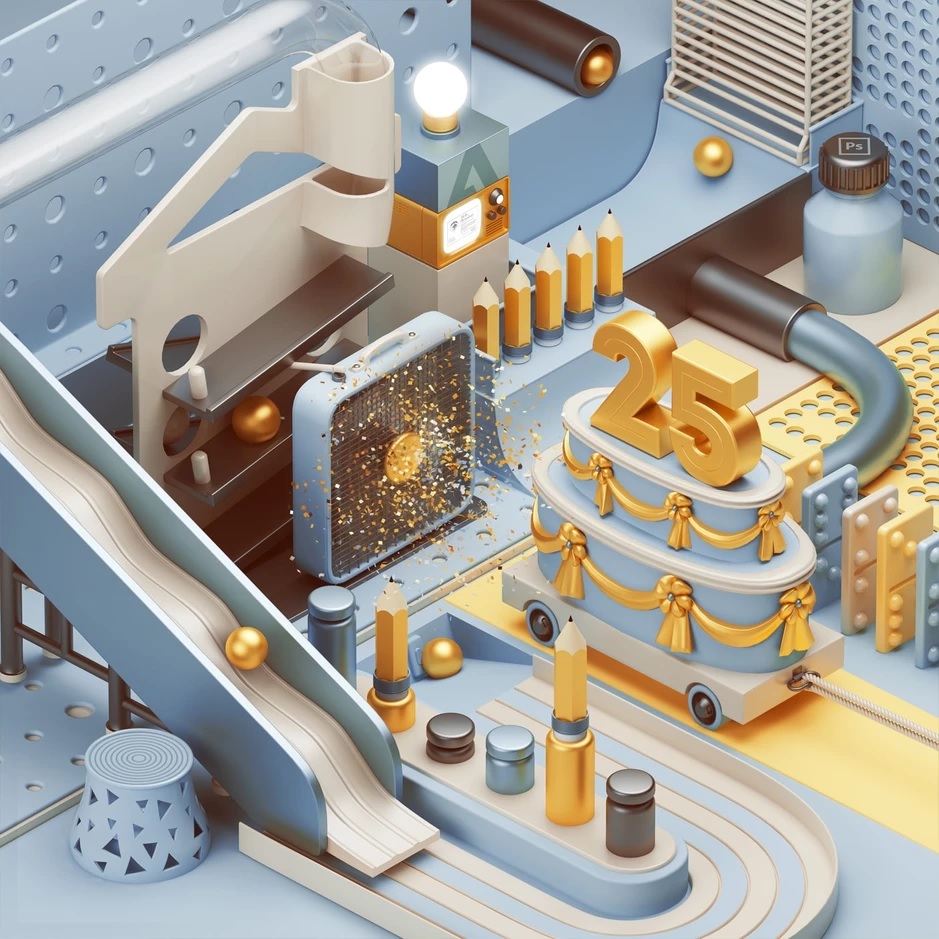
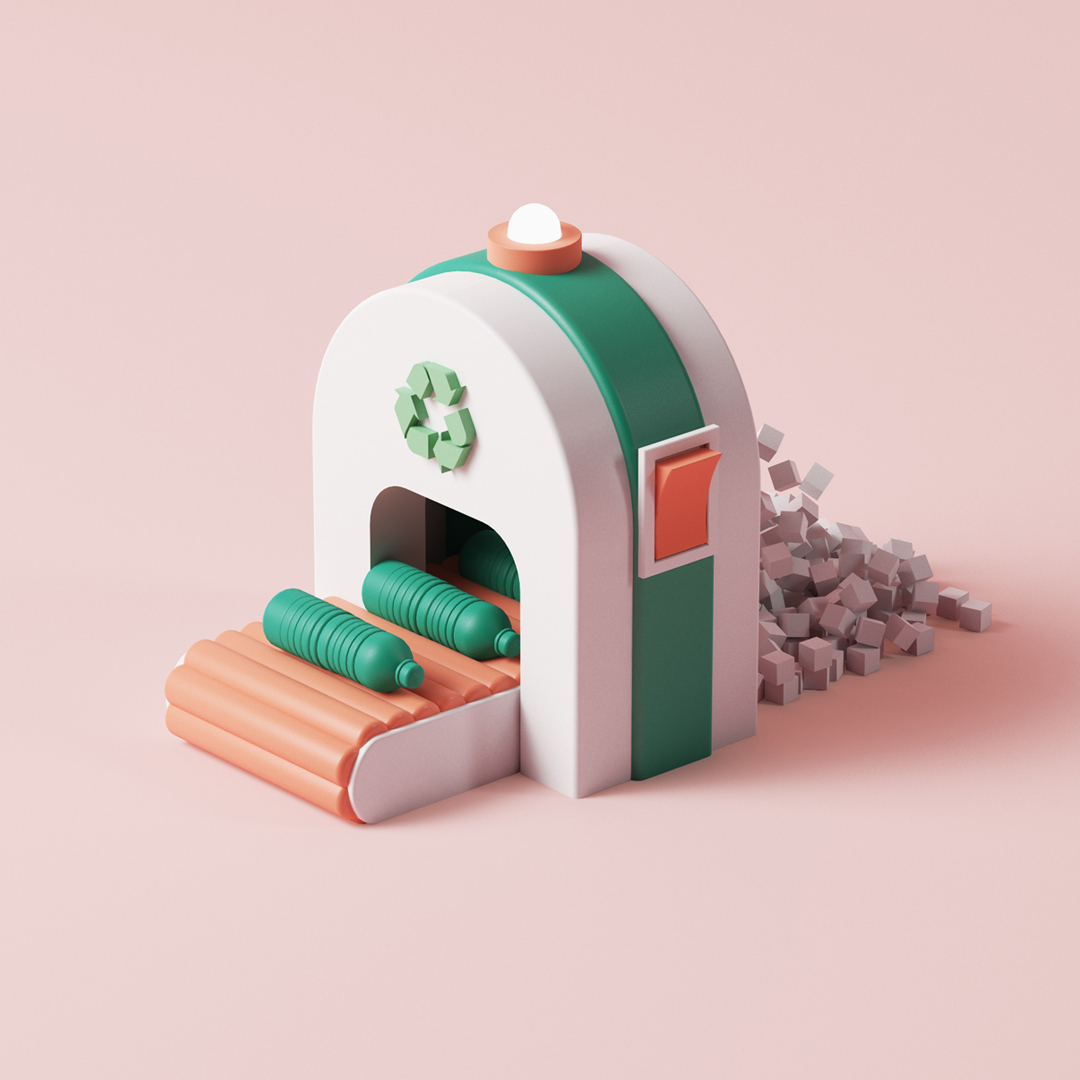
© Peter Tarka and © Nuria Madrid
Sufficiently inspired and equipped, Chelsea then set out to create the rough draft. “I sketched out ideas and mocked up a very simple 3D scene using basic polygons and an orthographic camera in Autodesk Maya,” says Chelsea. “Several iterations of the sketch were made, mostly regarding the realistic interpretation of the desk – messy or neat? I’ll leave that interpretation to you.”
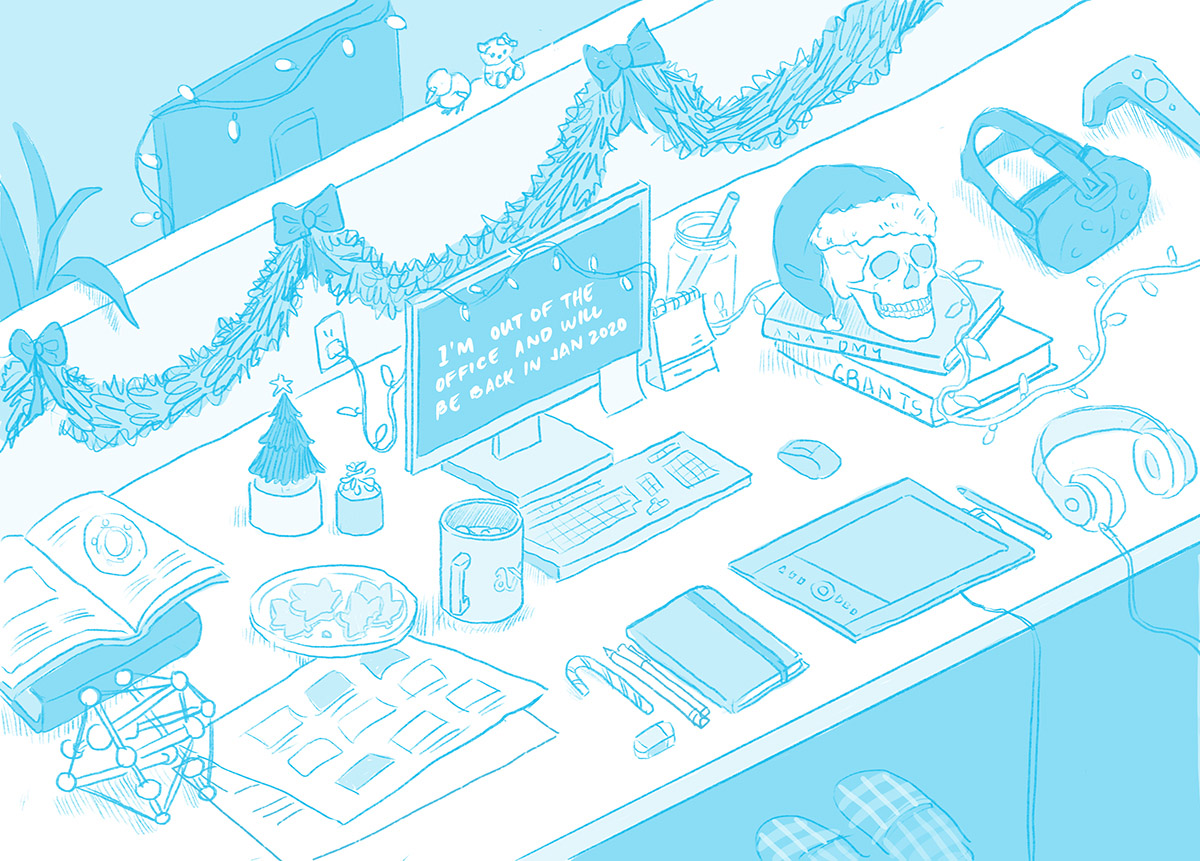
Rough sketch of the holiday card, with of all our wishlist items incorporated
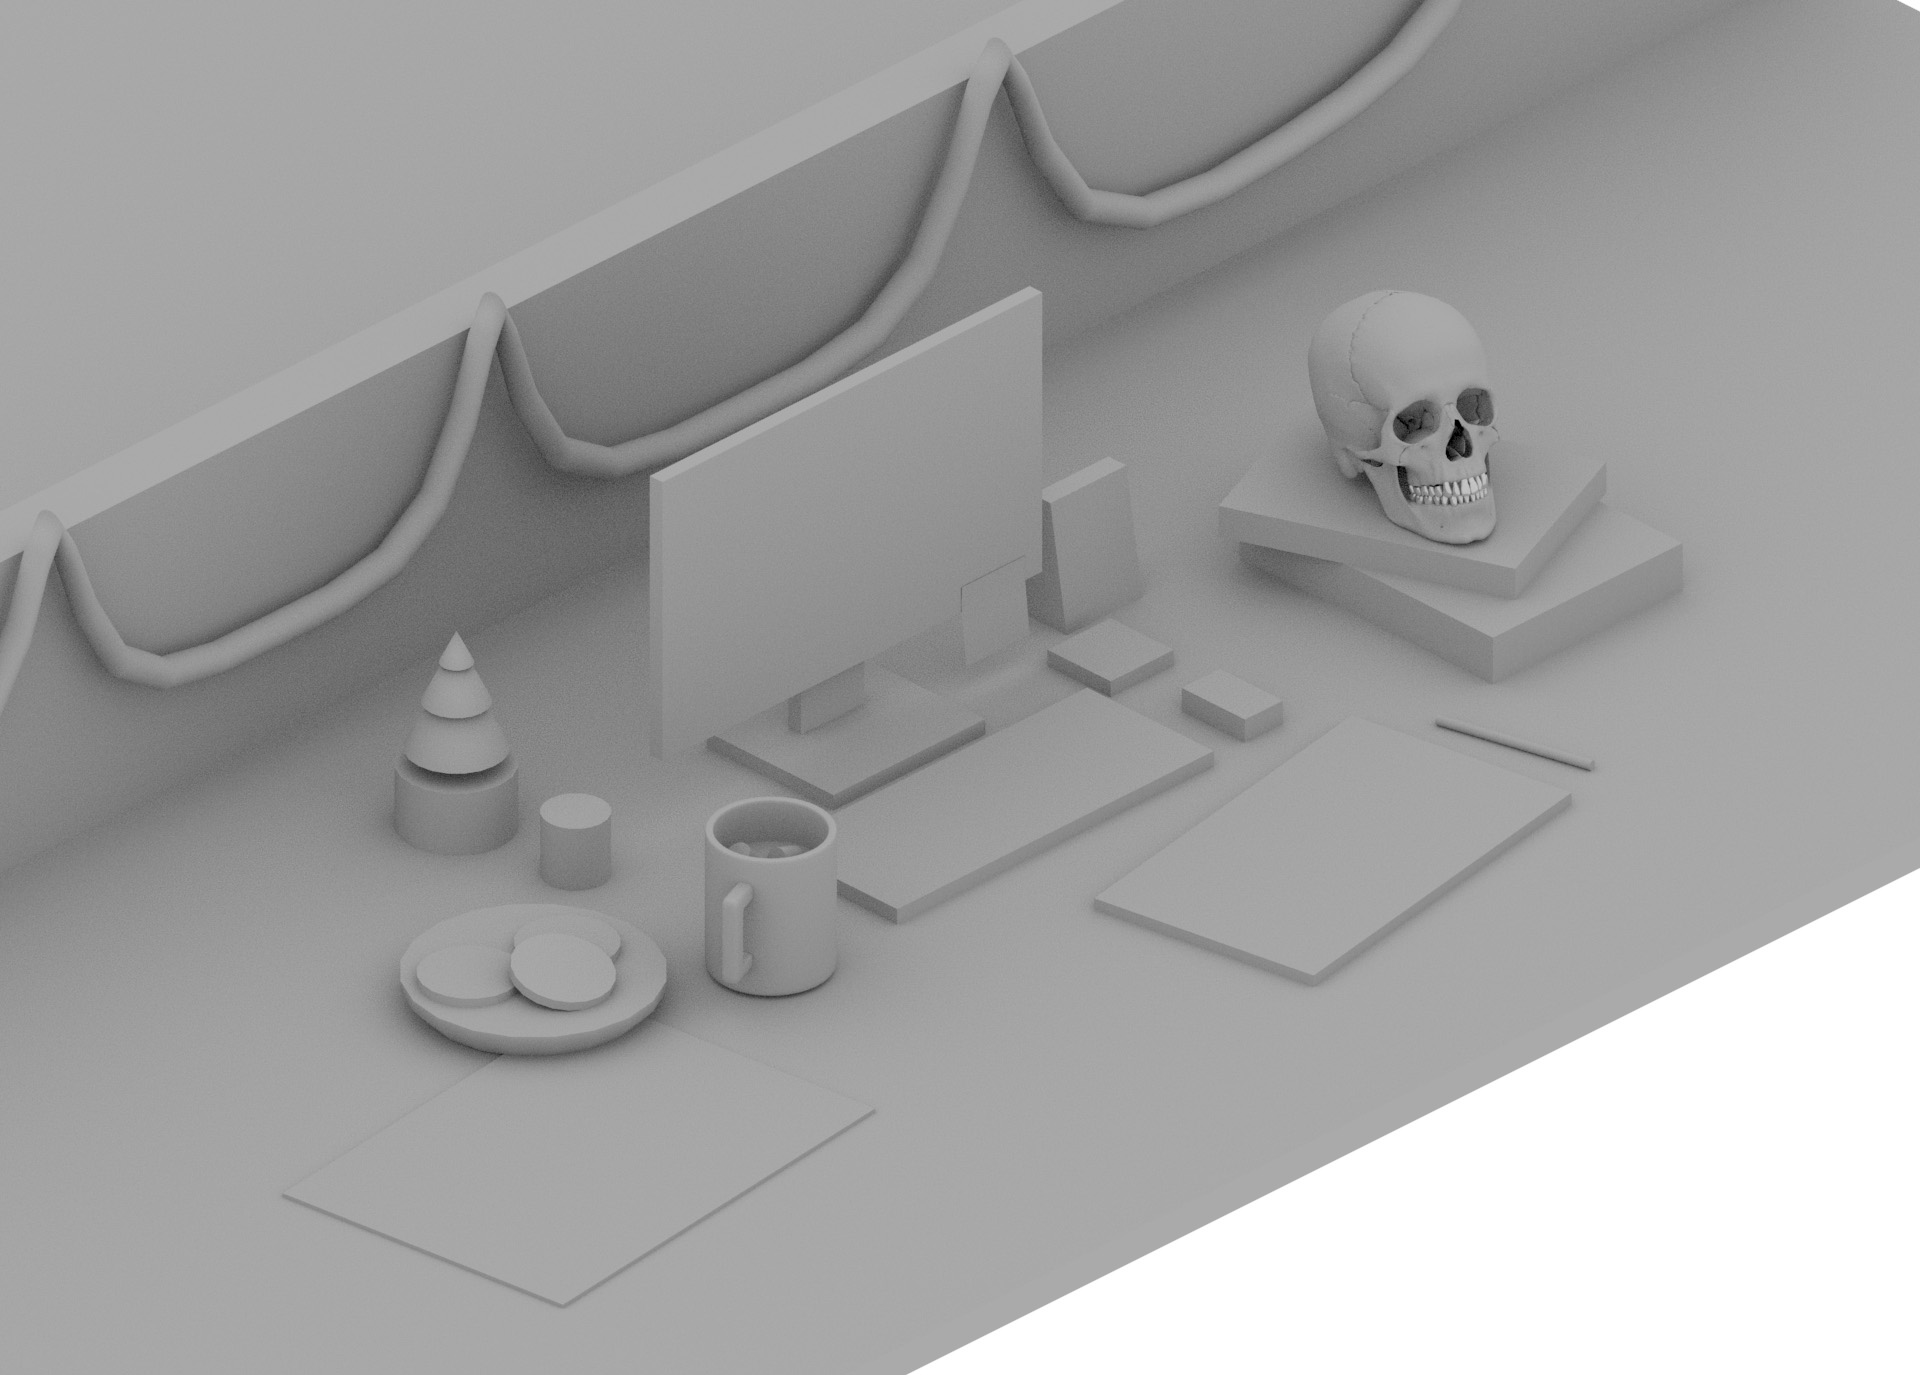
3d mockup. Good thing we had a skull model kickin’ around
Production
Once the sketch was complete, it was passed on to 3D Medical Artist Lucas Lin for modeling and rendering, with Head of Animation Julian Kirk-Elleker lending his creative direction. The desk was covered with objects, so there was a lot of asset modeling to be done. The most challenging part, according to Lucas, was creating the garland. “I didn’t want the garland to look too realistic and detailed, so I used zBrush to sculpt a pine twig, and MASH to distribute it along the curve in Maya,” he explains.
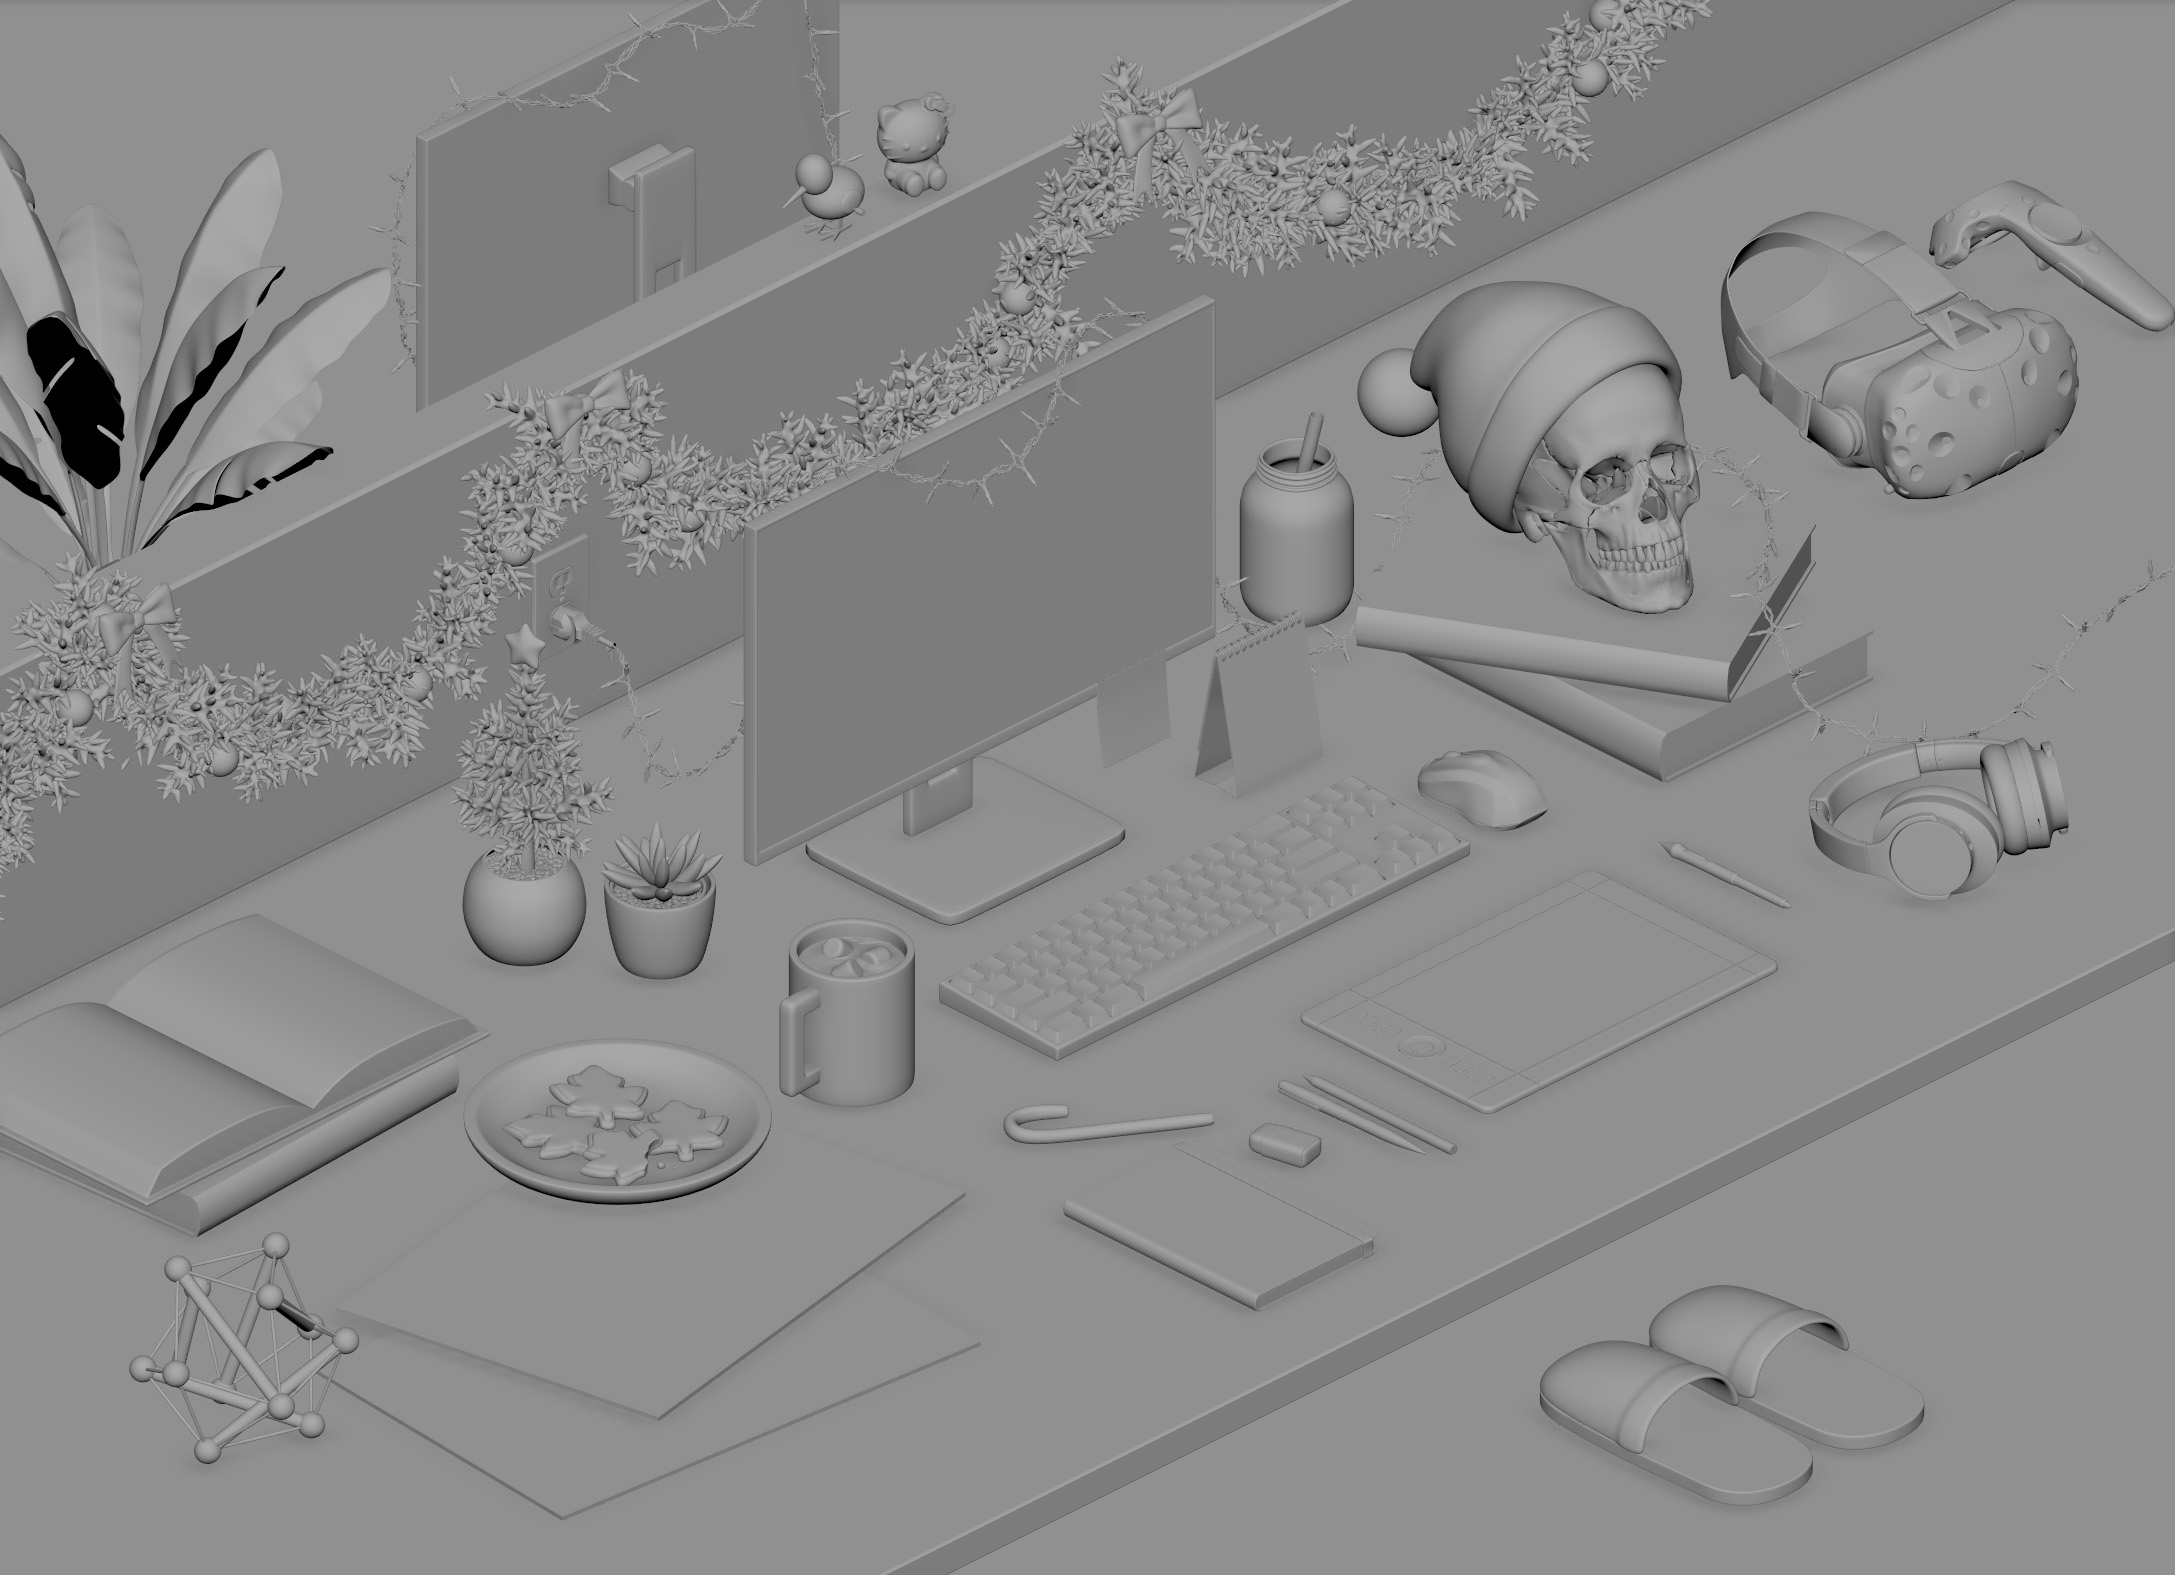
Completed models in Maya- can you spot the kiwi?

Initial lighting setup in Maya
We intended for the look of the card to be organic yet modern, whimsical yet realistic. To that effect, Lucas and Julian experimented with a mixture of simple matte and metallic materials, building contrast with detailed textures such as the garland and the storyboard. The result is a delightfully festive render that is detailed without feeling overly crowded.
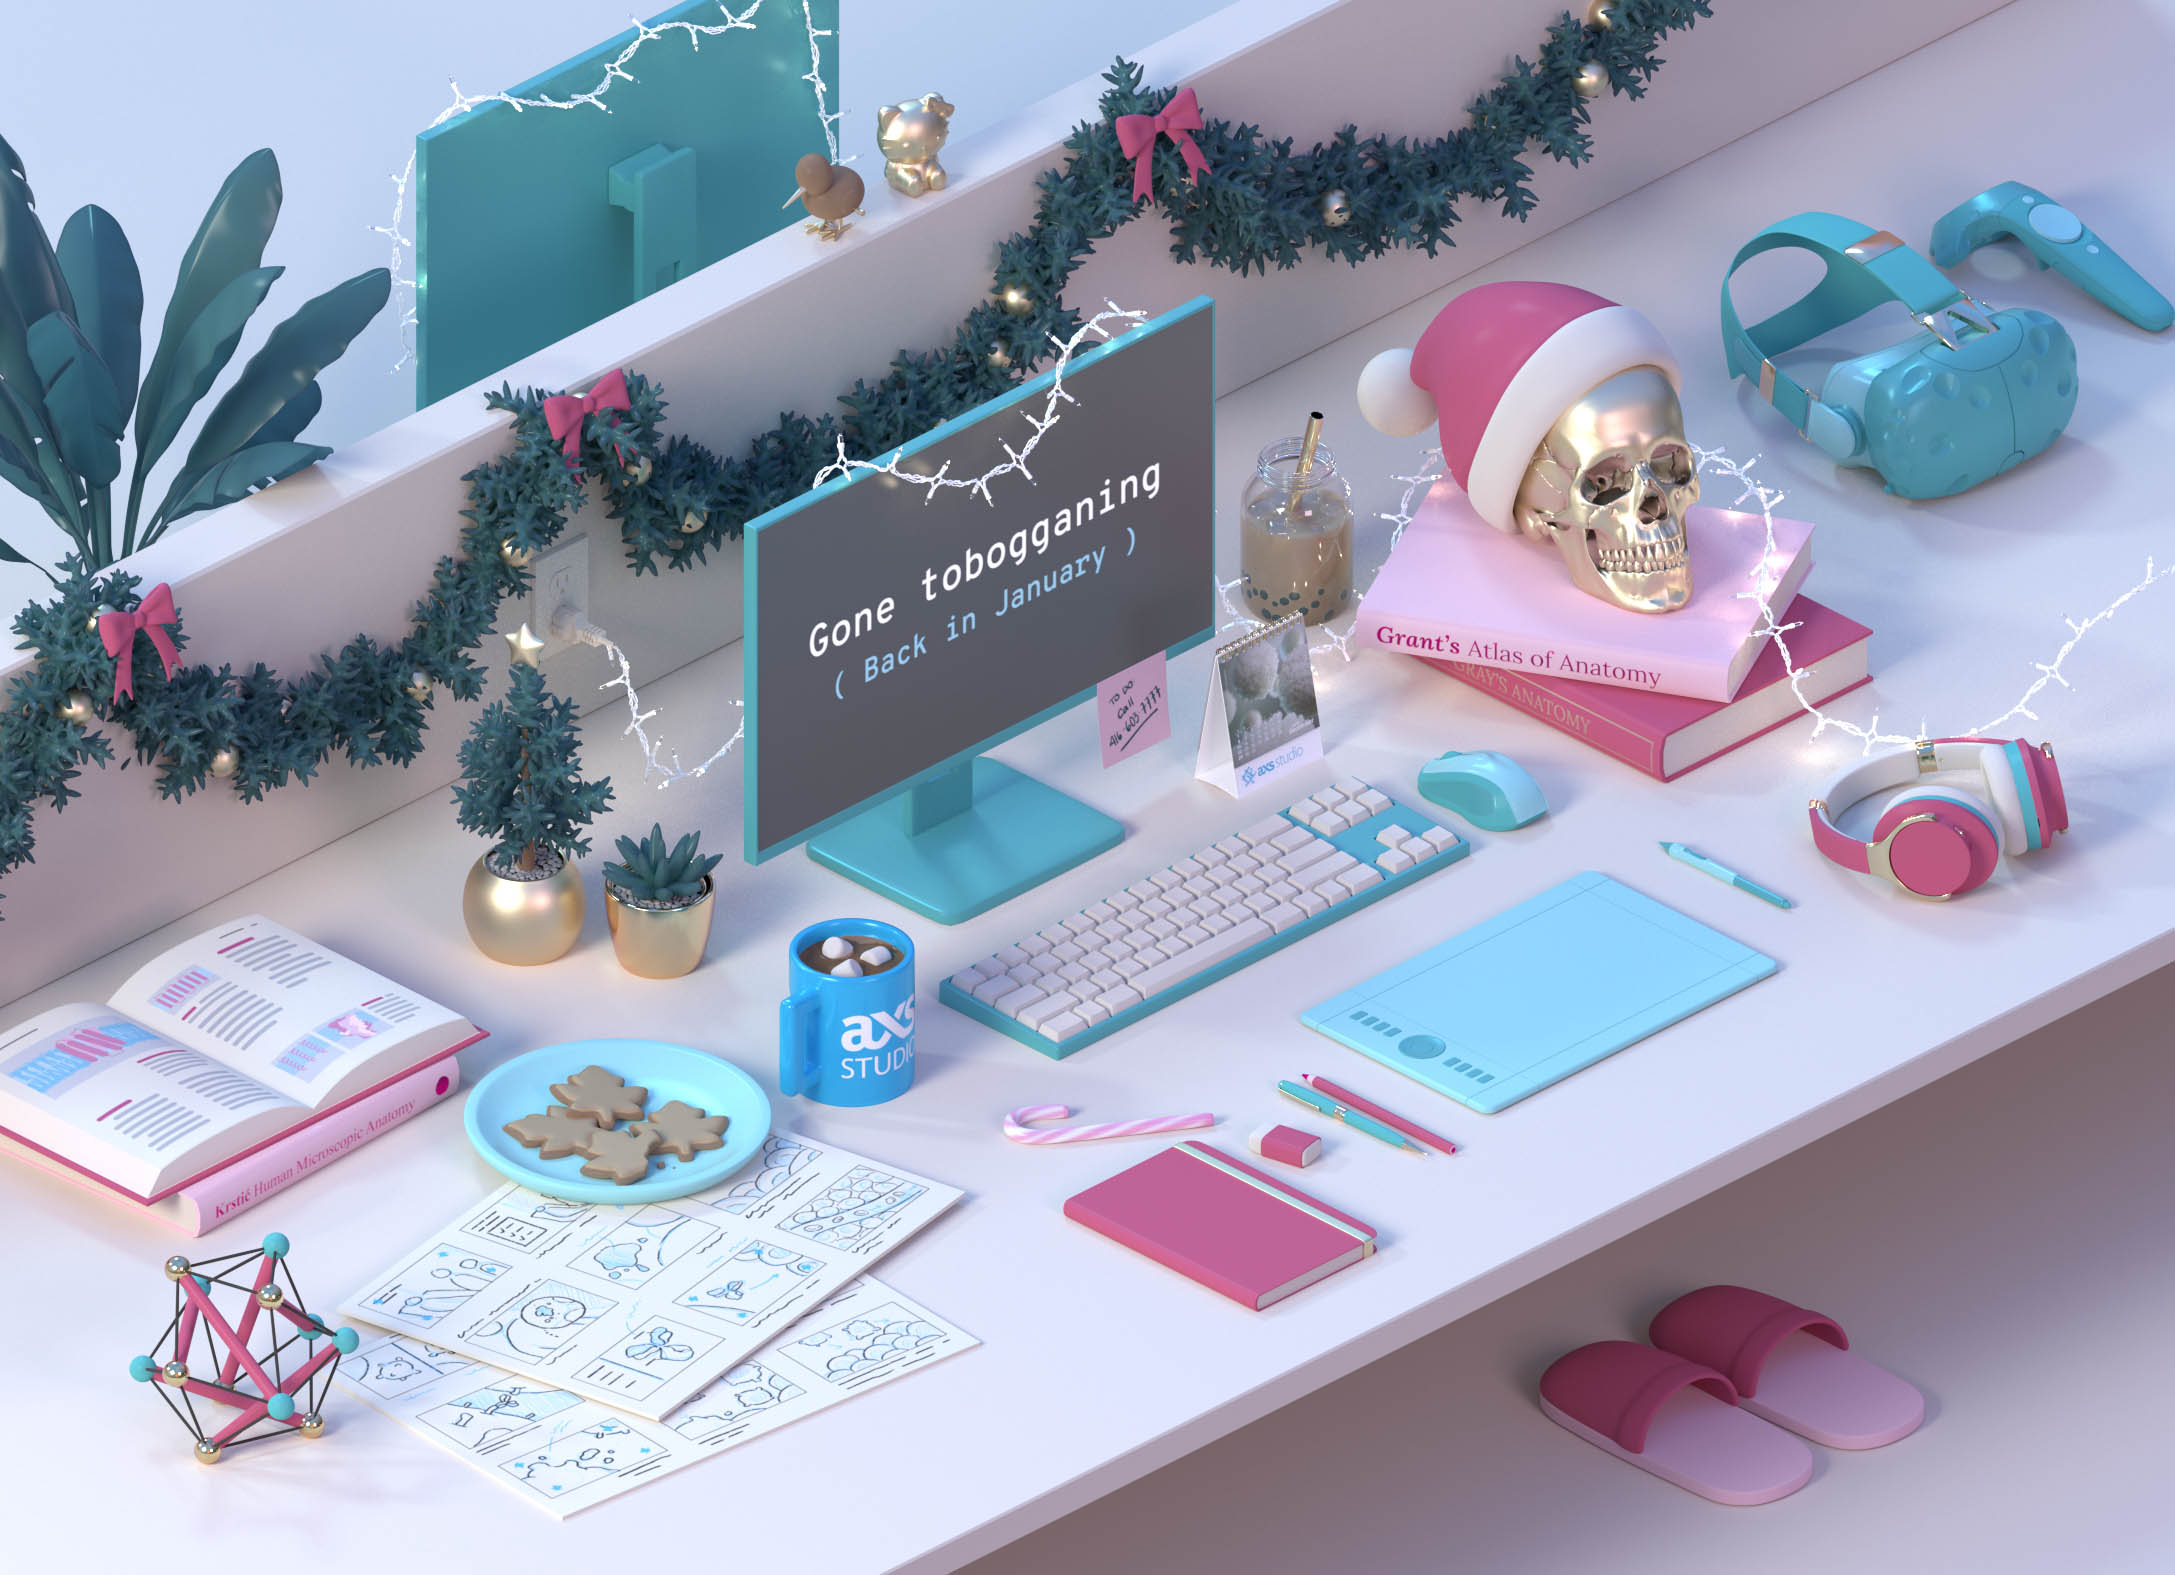
Beauty render
A combination of soft idealized lighting and realistic image-based lighting was created using Redshift. “The fairy lights were an interesting compositing and rendering challenge,” Lucas adds. “I separated the lights into two different volumetric passes that interacted with the glass of the lights differently. These were composited together to make sure the lights were not too prominent or hazy.”
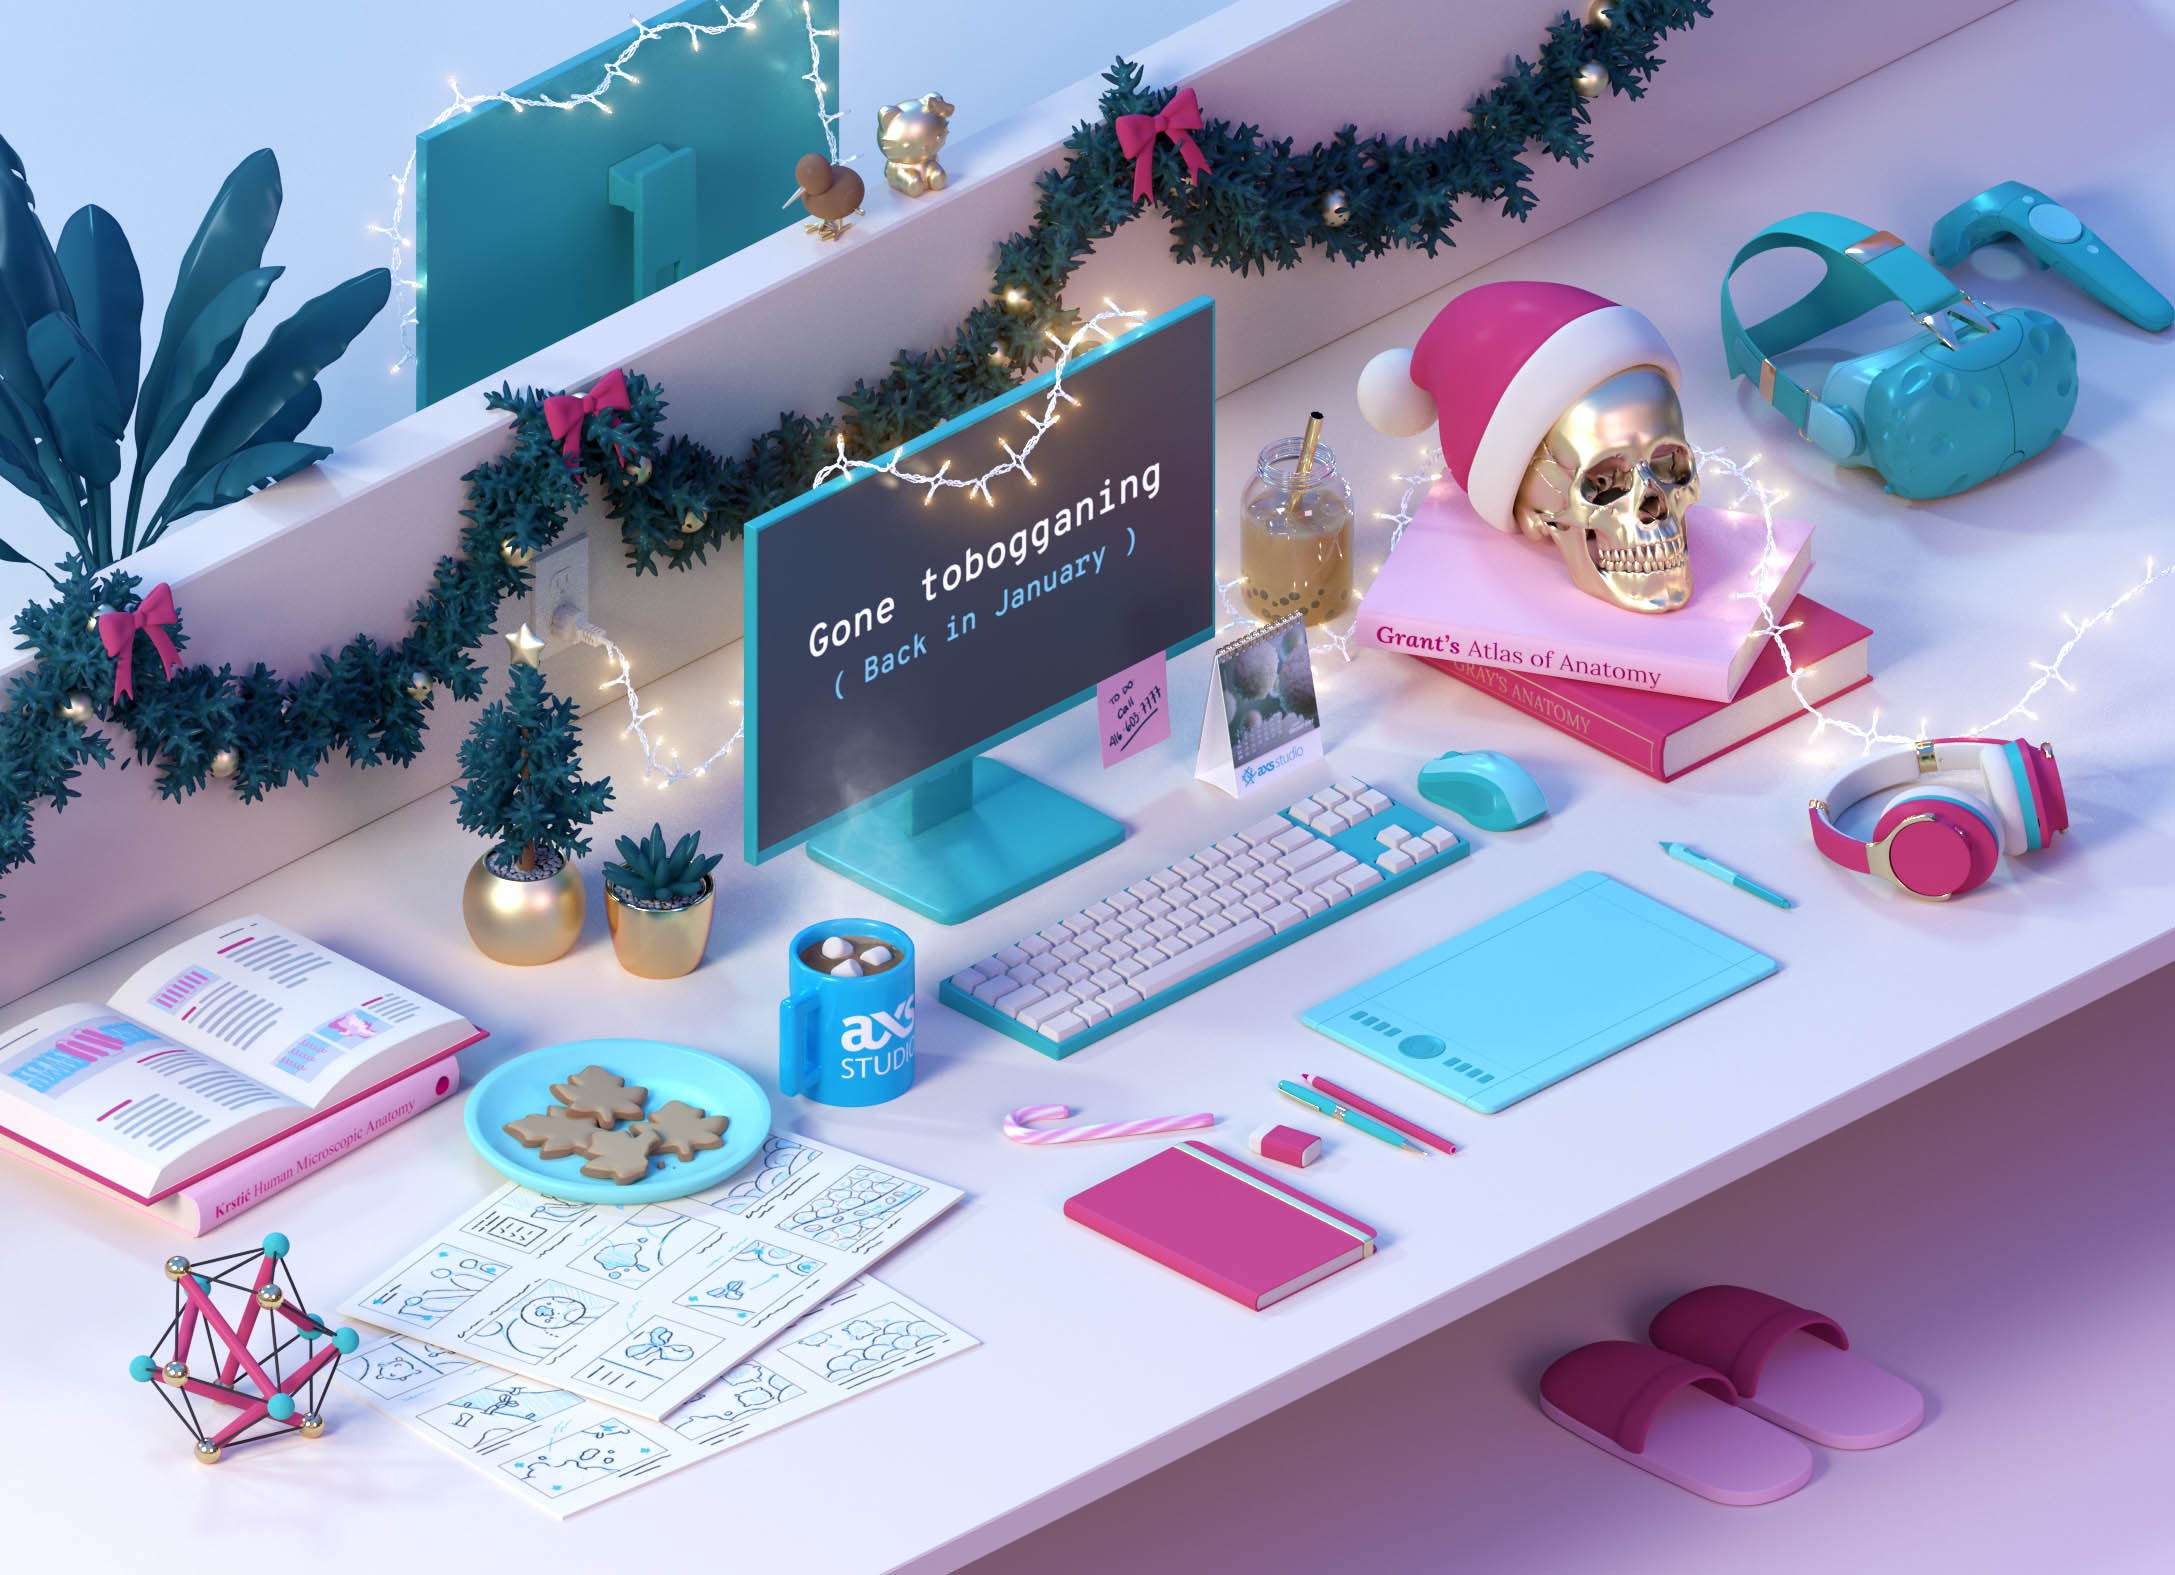
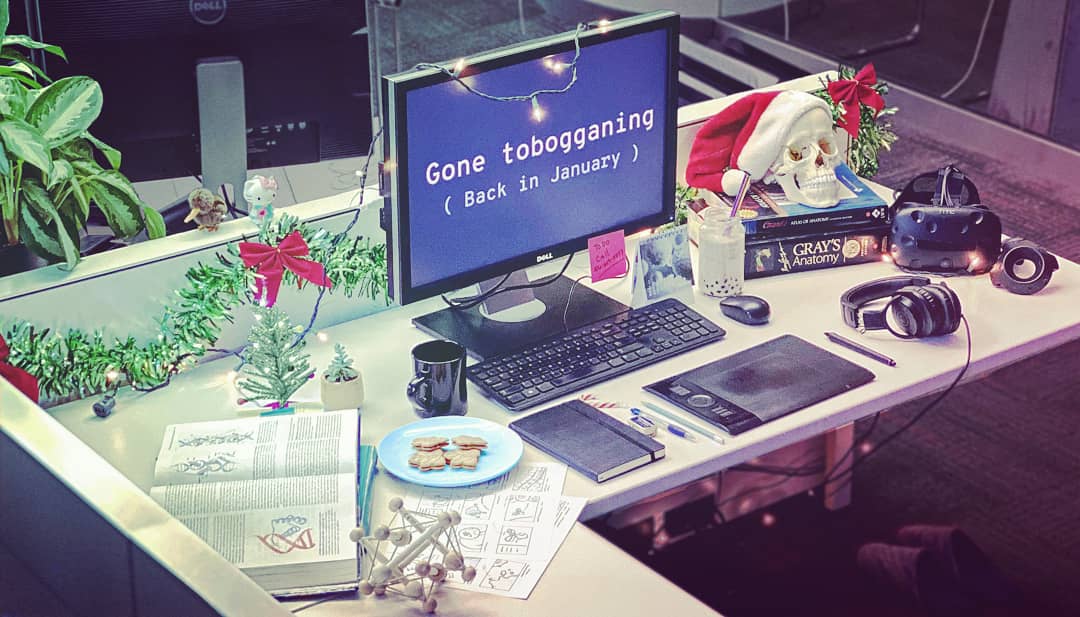
Final holiday card in all its merry glory
The final holiday card was a pretty accurate depiction of an AXS Studio artist’s desk. In fact, it was so accurate that we decided to recreate the 3D image in real life for comparison:
One bubble tea was harmed in the making of this post
Julian also created a lovely toboggan to go on the back of the holiday card:
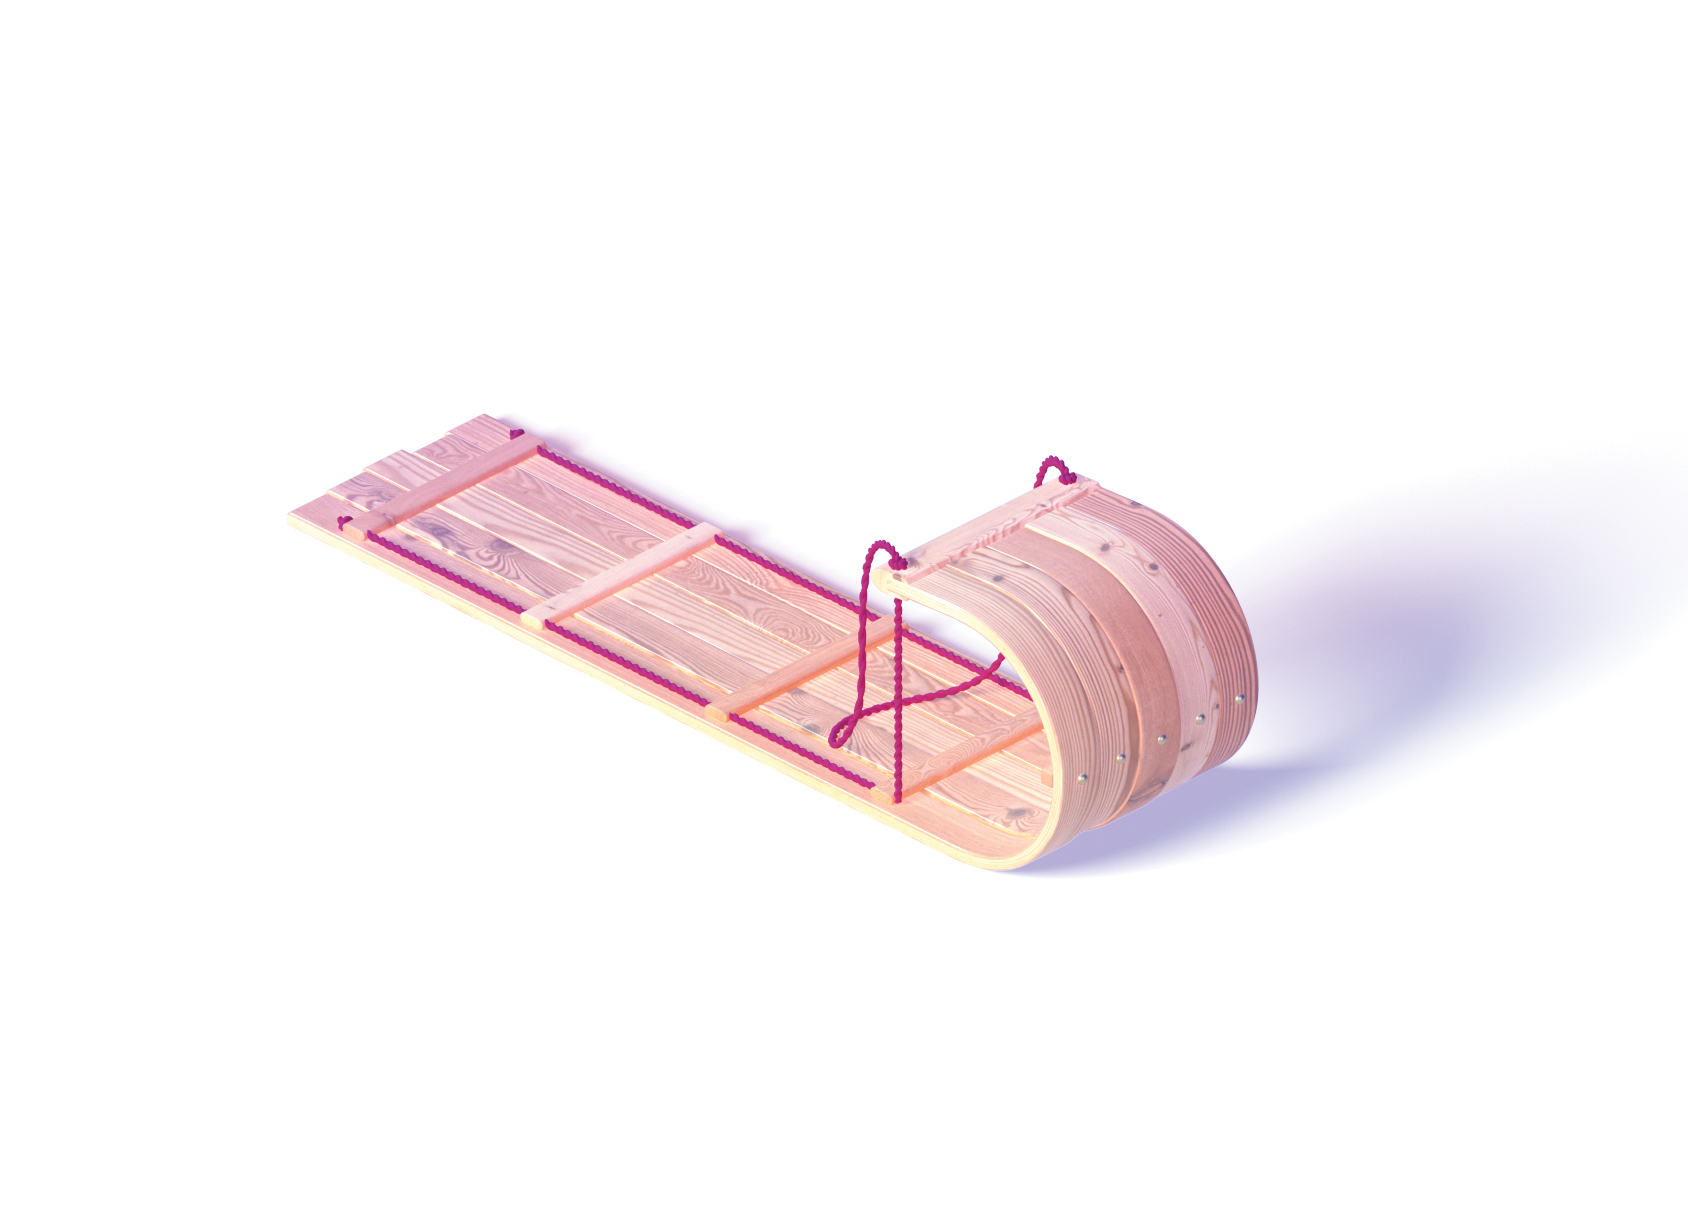
to·bog·gan /təˈbäɡən/: a long narrow sled used for the sport of coasting downhill over snow or ice
Interactivity
Once the print illustration was complete, it was time to bring it to life through interactivity. Our Developer David Tran used HTML, CSS/Sass, and Javascript to build the interactive card. However, there were a couple of road bumps along the way.
The first was cross-platform compatibility. “When designing a web version, all digital platforms have to be considered, which means considering several aspect ratios (eg. 4:3 for an iPad vs. 16:9 for a screen desktop),” Chelsea explains. “To work around this, David and I came up with a UI design that can accommodate all platforms.”
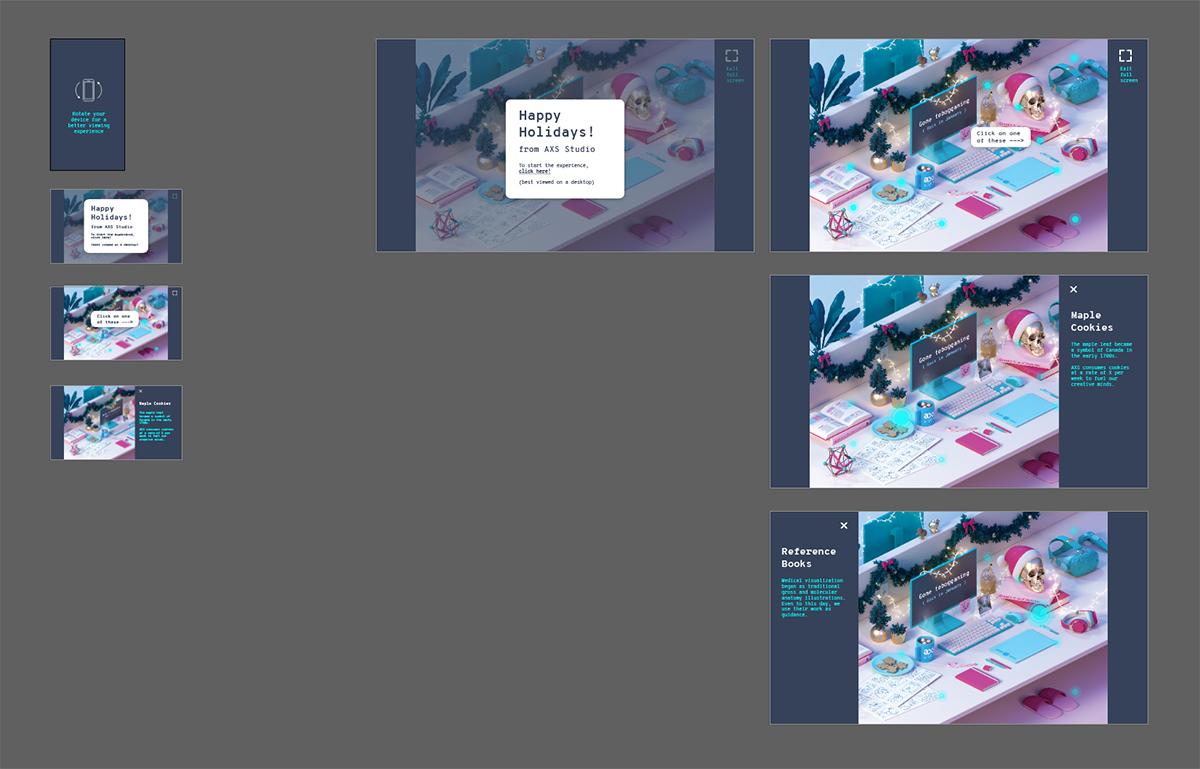
Interactive card wireframe
The second issue was incorporating animation. Since the card had to be both desktop and mobile-friendly, complicated videos and animations were not viable. Animated GIFs were out of the running since they were large in file size, limited to 256 colours, and clunky to control – and we didn’t want to eat up data on mobile devices or risk laggy animations. Thankfully, David and Chelsea were able to come up with a suitable solution: simple animations with less than 5 frames and easy transitions.
“We ended up masking different frames of the 3D objects and fading between them,” says David. “GreenSock is an important library used for animating CSS properties in Javascript, and we used this for most of the animations, including the staggered disappearing cookies and rising steam for the mug. This worked well for supporting lower-end devices while giving the card its charming interactivity.”
Much testing was done across different platforms to make sure that everything worked as it should
Other challenges included making sure each 3D object’s animation wouldn’t interfere with the lighting or placement of other objects. “The fairy lights were on a background layer and strategically diverted around the clickable, animating objects, while the rising steam was subtly placed in the foreground to create an illusion of depth,” says David. “The trailer video was handled by placing it in a div that was then transformed using CSS to fit inside the monitor screen; this gave the desk life as the video appeared to be playing directly inside the virtual monitor.”
Overall, internal projects such as this one give the AXS team a lot of creative freedom to explore new ideas, workflows, and styles. It’s a great opportunity for learning through fun and flexible iterations. Our final card is a snapshot of the day-to-day desk of an AXS artist, and a little thank you to those of you who have been following and supporting us on our creative journey. If you haven’t checked out the interactive card yet, you can find it here!

3 Responses
Love seeing the sketches and teamwork behind this awesome and fun design!
Thanks Patricia!
Looks like the best place in the world to work! Such a fun little holiday project. :)